How to make a tomato plant time lapse
Sep 13, 2022 4 min read
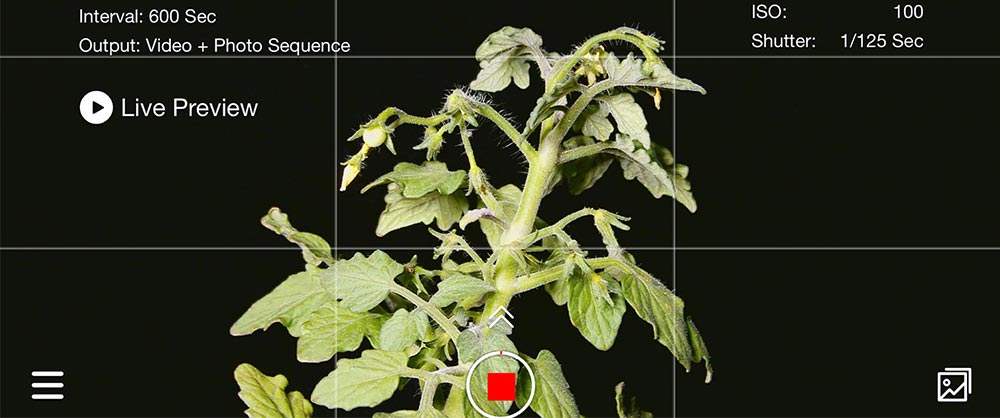
Picking the right subject is an essential aspect of every time lapse.
Choosing typical time lapse subjects is great, but as you progress through your time lapsing journey, you should explore different subjects, such as sprouting beans.
Capturing a time lapse of a growing plant using the ATLI EON time lapse camera is fascinating - as the time lapse would capture even the minute changes in the little sapling - details that would be otherwise missed out by the human eye!
For explanatory purposes, we’ll select a plant - say, a cherry tomato plant (there will be different stages to capture in this time lapse - right from the sapling phase to the day when tomatoes actually show up).
You can shoot the time lapse indoors or outdoors, wherever the plant is growing - but there will be a certain set of rules you’d need to keep in mind when you choose to shoot indoors or outdoors.
Let’s understand better. I’ve divided the list into five sections so you can head directly to the advice you need the most right now:
- Preparation before shooting
- Keep your settings manual
- Set focus to manual
- Try manual mode on ATLI EON
- Other important points to keep in mind
- Use macro mode
- Set the interval accordingly
- Use a tripod for stability
- Keep your equipment well-charged
- Pros and cons of indoor/outdoor plant time lapse
- Summing Up
What To Prepare Before Shooting?
If you’re not much aware of how plants function, you may find it hard to do a plant time lapse. But should this stop you from creating one? Not at all!
In our example, we’ve considered tomatoes, which require water and sunlight to grow quickly. This is why you'll require some growing lights if you choose to shoot indoors.
Read up about plants and get started with your time apse with some basic research. Find out the essential needs of the plant you choose on Wikipedia.
For indoor shooting
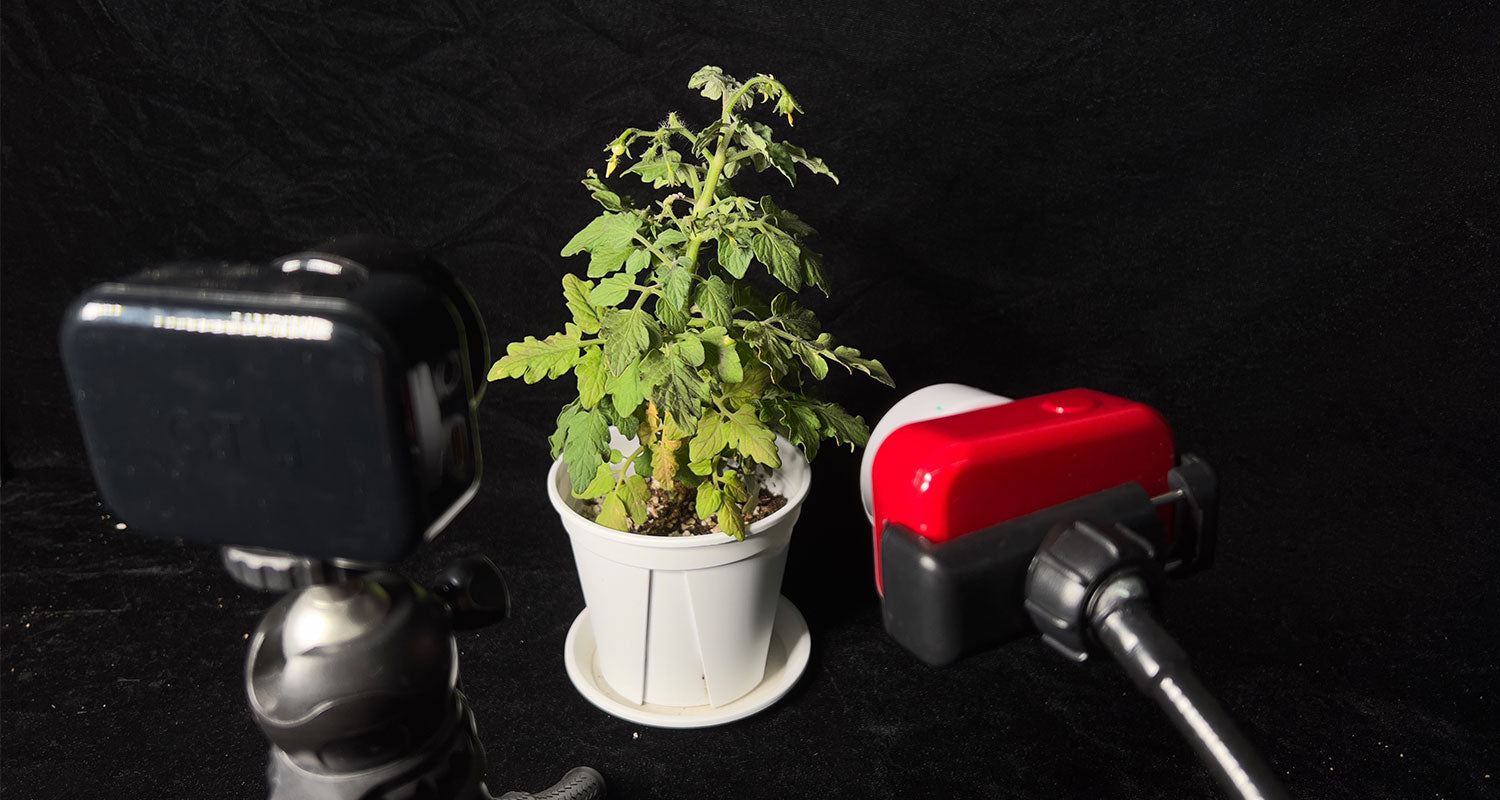
- For an indoor tomato plant time lapse, you’ll require a proper lighting setup.
- 3 LEDs should be perfect for consistent lighting. To ensure the plants grow quickly, you can use growing light as a substitute for sunlight.
- Lastly, use a solid color background - we’d pick a big photography box for setting a white background.
For outdoor shooting
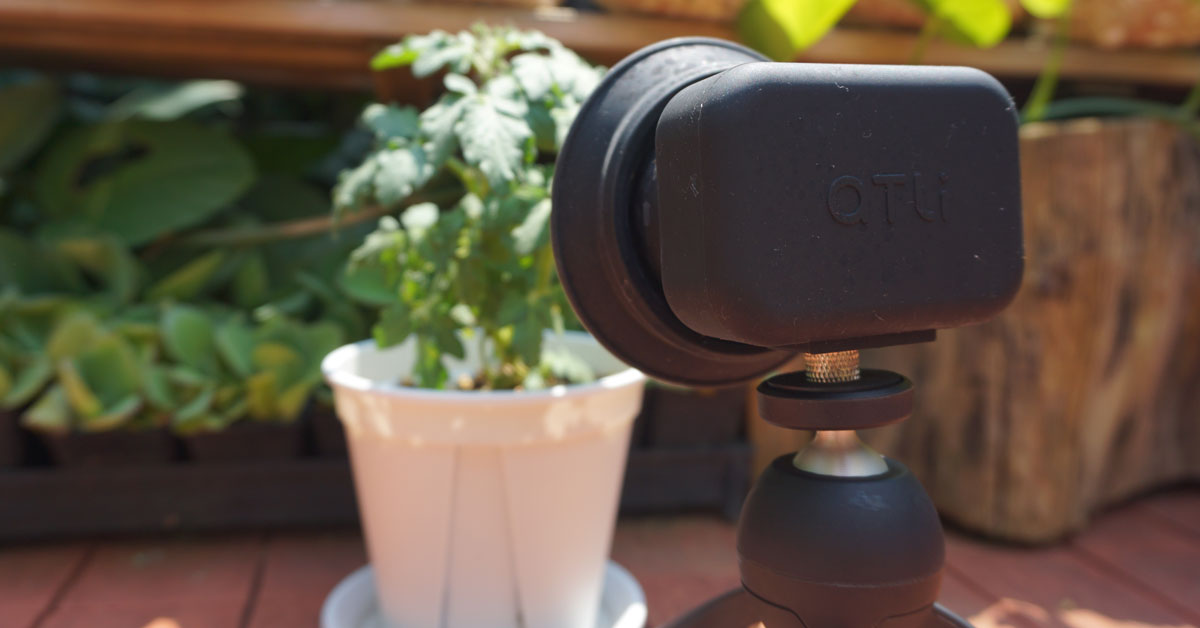
- Natural light isn’t constant and will keep changing, so you need to consider where you’ll be planting your tomato seeds.
- To tackle low light situations, you can always rely on artificial lights. But as much as possible, wind up the shooting during the day (5 AM to 7 PM every day) and avoid shooting at night.
- Opt for the scheduled shooting mode, as it will ensure your final video will be saved to the camera’s album at a scheduled time.
- A quick tip - use the live preview feature in the ATLI EON camera, via which you can connect your phone and camera to the same WiFi. This allows you to preview the video anytime from your phone on the ATLI CAM app. When you click ‘stop’, the video will automatically be saved to the album.
Set the Camera to Manual Mode
To catch more details, don't be afraid to try the manual mode. Manual settings offer much more flexibility in maximizing your creation.
Set focus to manual
To focus on both aspects of the plant (root and shoot), you can set up two cameras to capture both angles accurately. The ATLI app allows you to modify the focus point and check the details by pressing it.
Try manual mode on ATLI EON
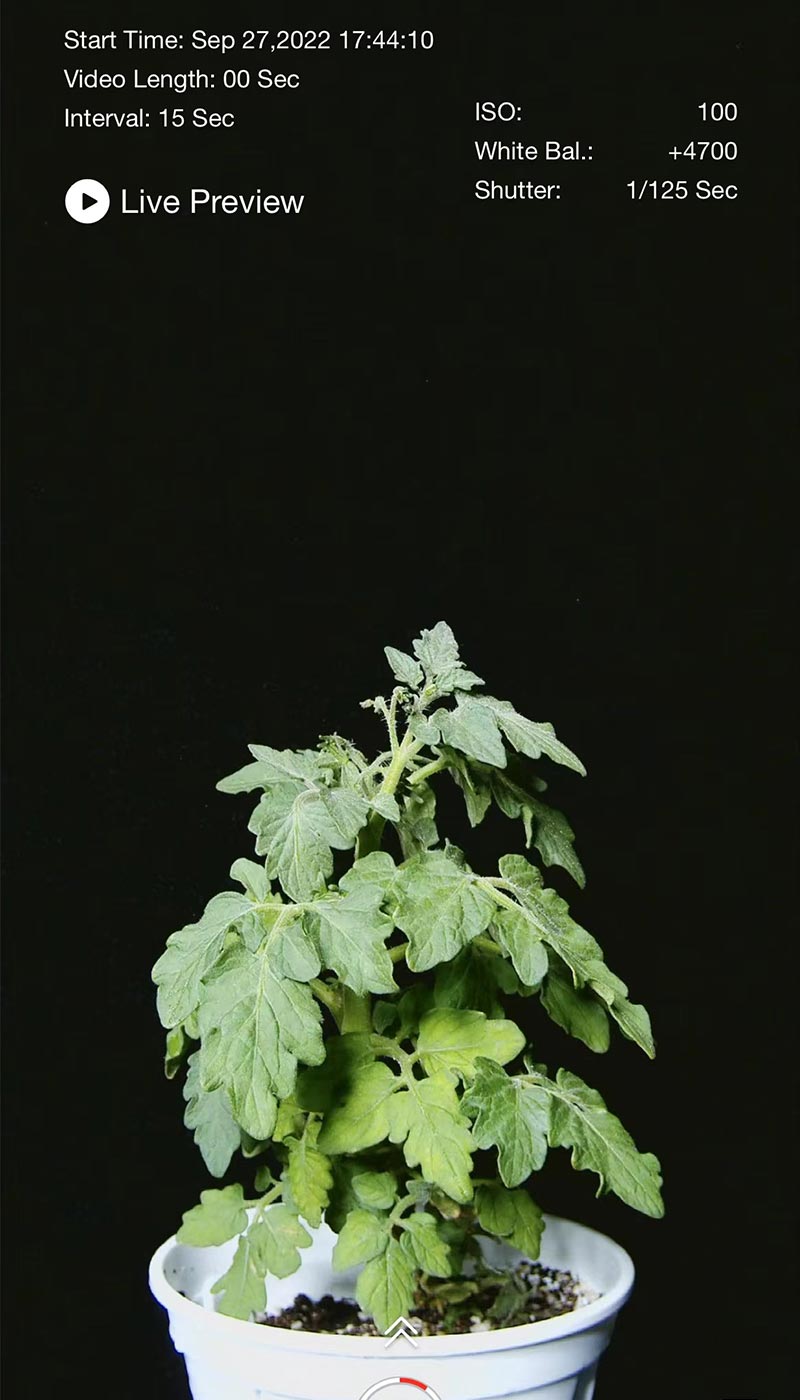
ISO: 100
White Balance: +4700
Shutter speed: 1/125 Sec
Interval: 15 sec
For an indoor timelapse, you need to set the camera settings in the beginning and keep the settings the same while shooting too. The key aspects you need to adjust at the start are ISO, Exposure, Aperture, and White Balance.
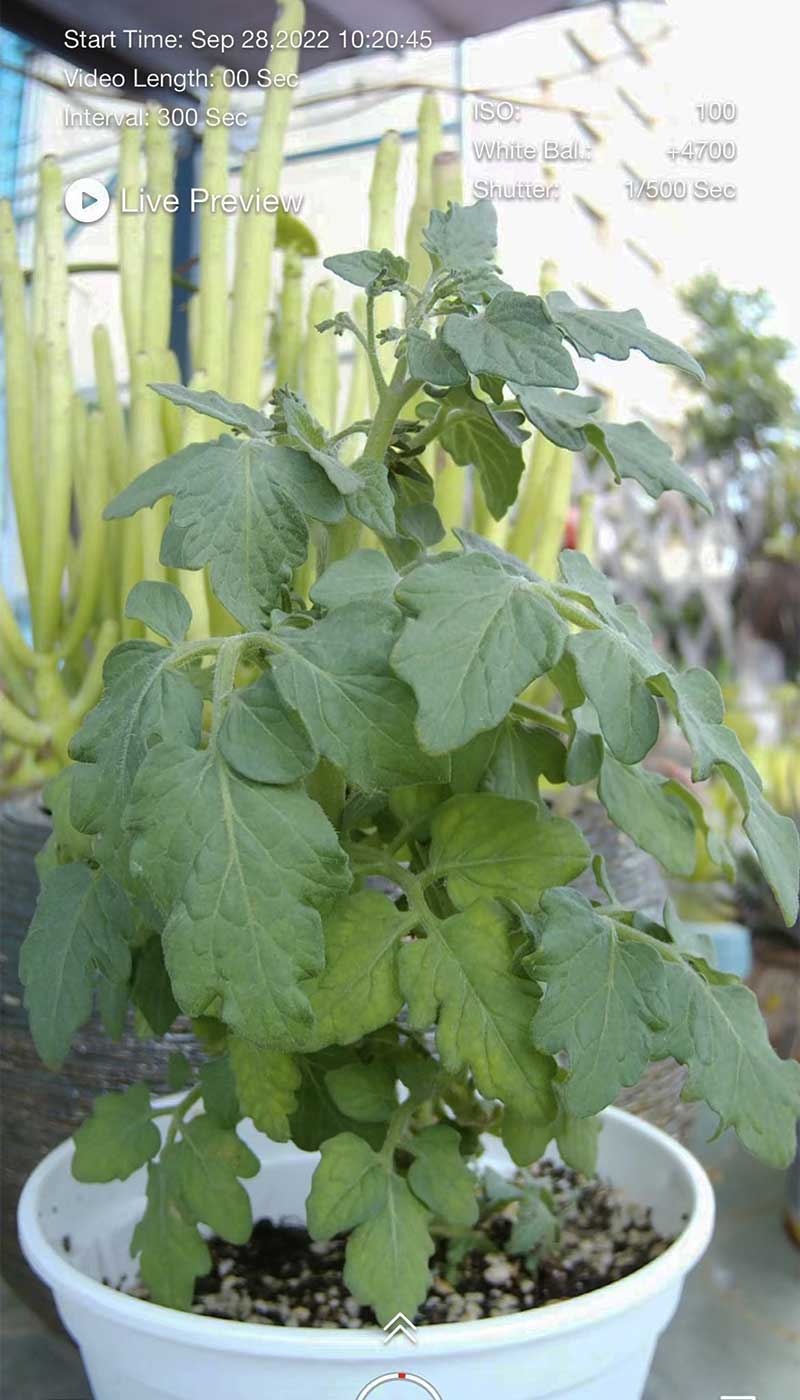
ISO: 100
White Balance: +4700
Shutter speed: 1/500 Sec
Interval: 5 mins
You cannot opt for a constant setting for an outdoor plant time lapse, as the weather outside keeps changing. Rather than changing the settings according to the weather, you can opt for the Auto Mode in the ATLI EON.
Other Important Points to Consider
Use macro mode
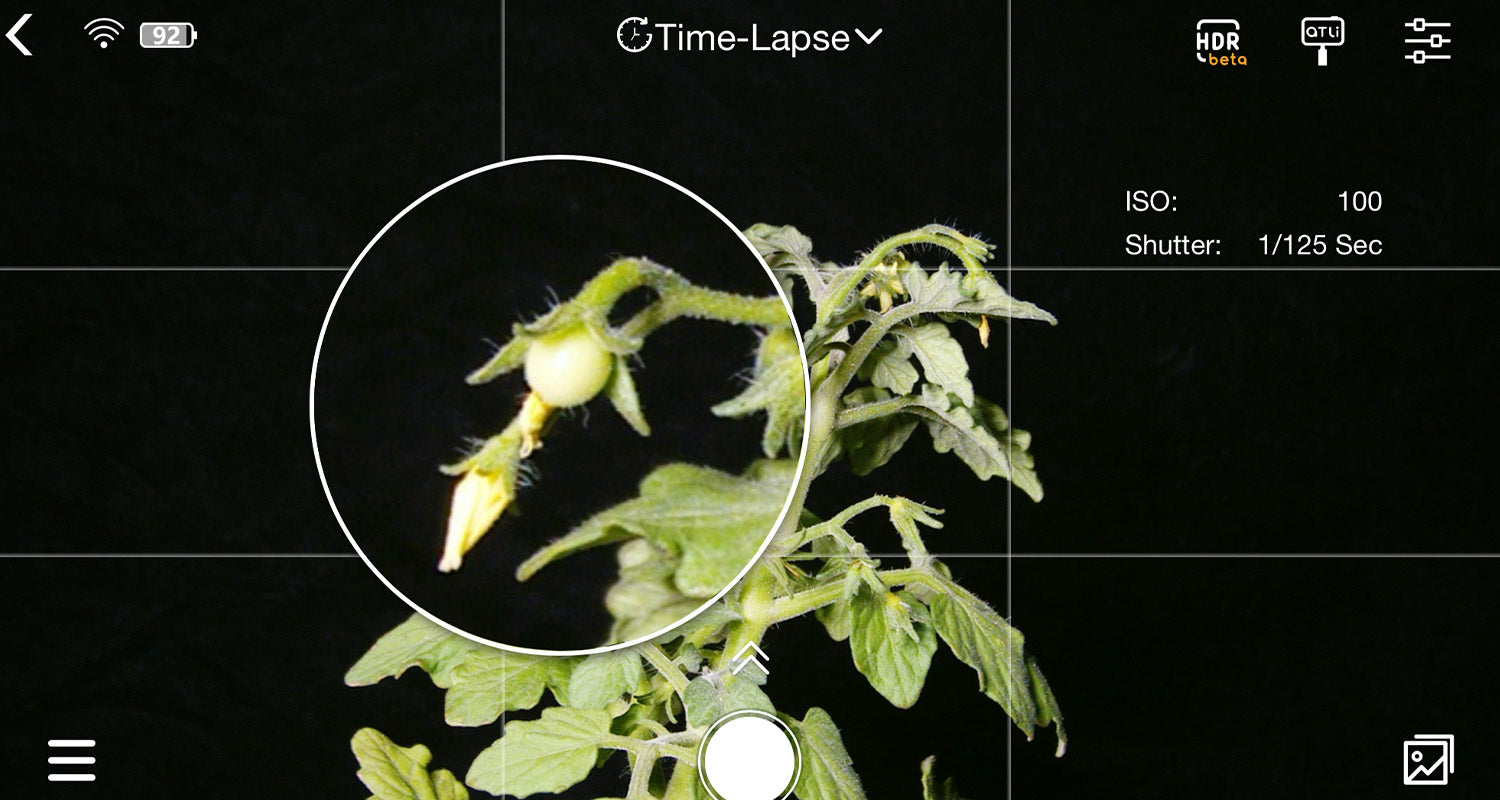
Shooting in the macro mode can help you capture every detailed moment of the growing plant.
Set the interval accordingly
Every plant has its own growing speed, according to which you have to calculate and set the interval accordingly.
Tomato plants don’t grow fast; the initial growth period is slow, so you can set the interval as 10-15 minutes. Later, when the plant starts budding and flowering, the growth speed increases, during which you can set 2-5 minutes.
Use a tripod for stability
Set your camera on a flat surface so that it's easier to level the camera.
In the ATLI EON camera kit, you will have a tripod, which you can use to capture both indoors and outdoors growing tomato time lapse.
Keep your equipment well-charged
For indoor time lapses, keep your equipment well-charged.
On the other hand, for outdoor shoots, you’d need a backup power supply or solar power to keep your gear going for longer durations of time.
What's the pros and cons of shooting indoor or outdoor?
- Pros:
- Shooting a growing plant time lapse indoors is relatively easier, as you have a fully controlled and constant environment.
- Cons:
- However, you’d require more equipment, such as lights, backgrounds, and humidifiers, to ensure your time lapse is captured successfully.
Indoor plant time lapse
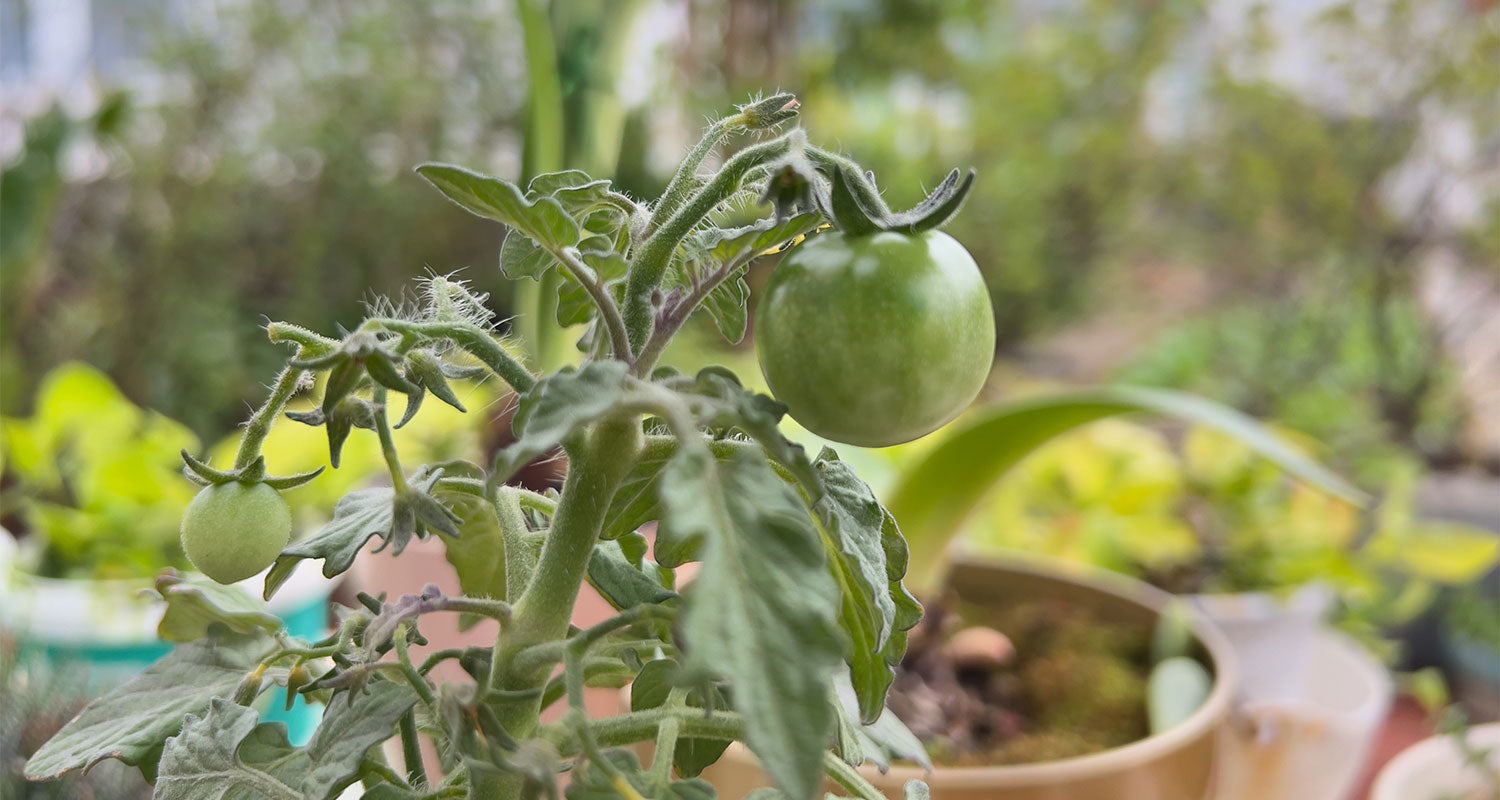
- Outdoor plant time lapse
- Pros:
- Outdoor time lapses are more natural - you can capture every element of nature in your time lapse, not just the tomato plant! You may accidentally capture some unique and surprising moments, such as a bee whizzing by or a cat or dog sniffing the plant.
- Cons:
- But the downside of shooting outside is the frequent weather changes, which would require you to alter camera settings constantly.
- But if you choose to shoot with the ATLI EON camera, you’d have nothing to worry about - simply set it on Auto Mode and get going!
Summing Up
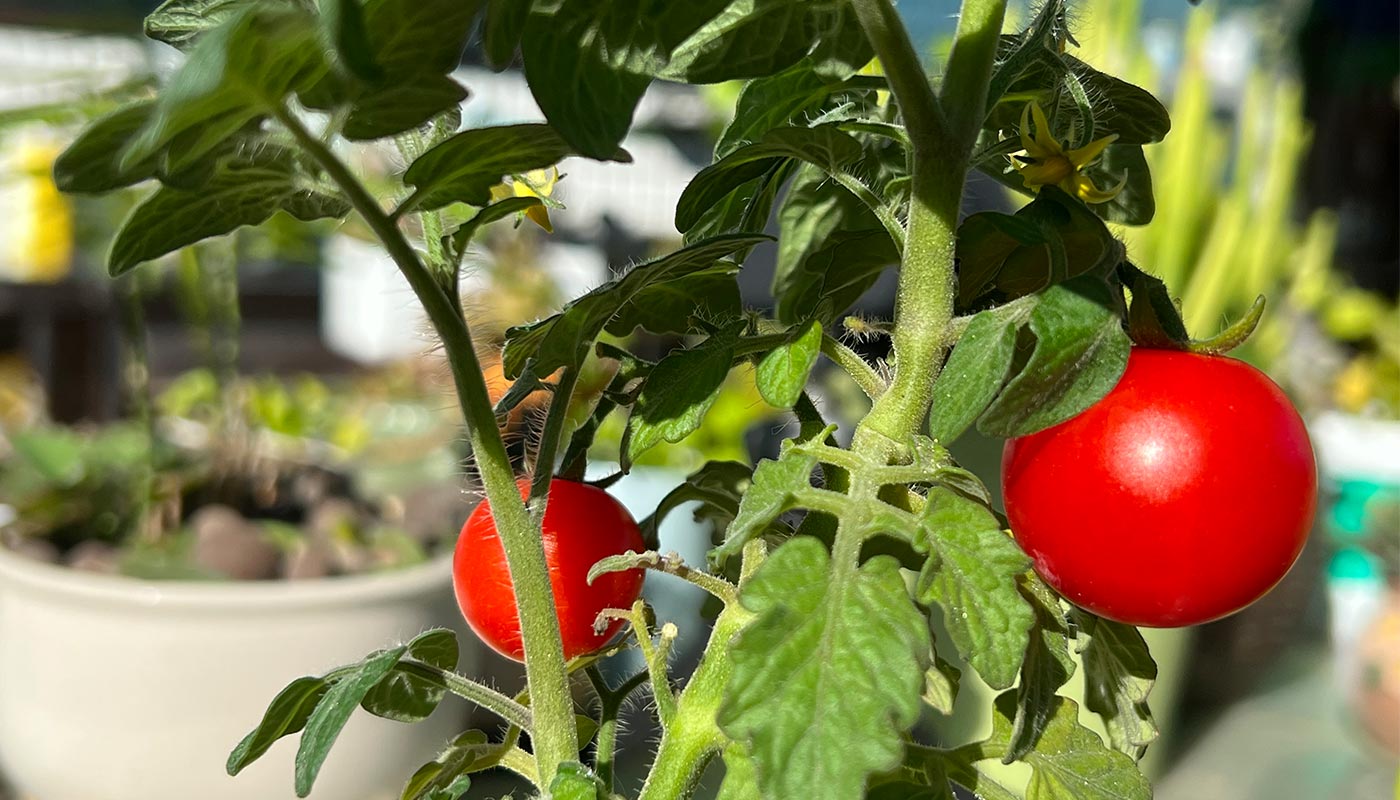
We’ve told you everything you need to know about capturing a growing plant time lapse.
You can consider starting off with an indoor shoot to get the hang of how things work in a growing plant time lapse before you start an outdoor time lapse.
Choose the right plant and the right equipment, and you’re all set to have a stunning time lapse!


