How to make time lapse video from photos
July 13, 2022 3 min read
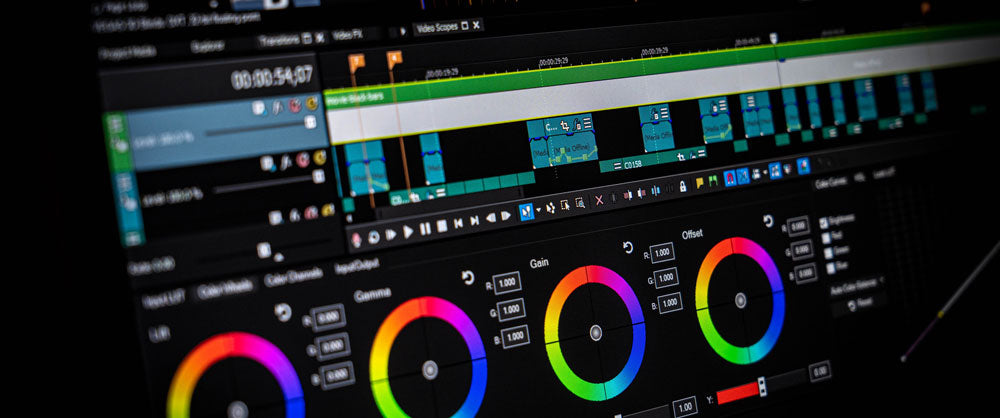
Besides capturing photographs the right way, editing is another crucial time lapse aspect.
Stitching together different images into a seamless time lapse may seem to be a task, but once you master the technique, you’ll be a pro at creating a beautiful blend of photos.
Let’s have a look at how you can create and edit a time lapse video with still photos in a couple of simple steps:
- Step 1: Select the photos
- Step 2: Edit these photos for consistency
- Step 3: Transfer photos to your PC
- Step 4: Pick a video editing software
- Step 5: Edit the video
- Step 6: Export your video
- Step 7: Reduce file size and share
Step 1: Select the photos you want to feature in the time lapse
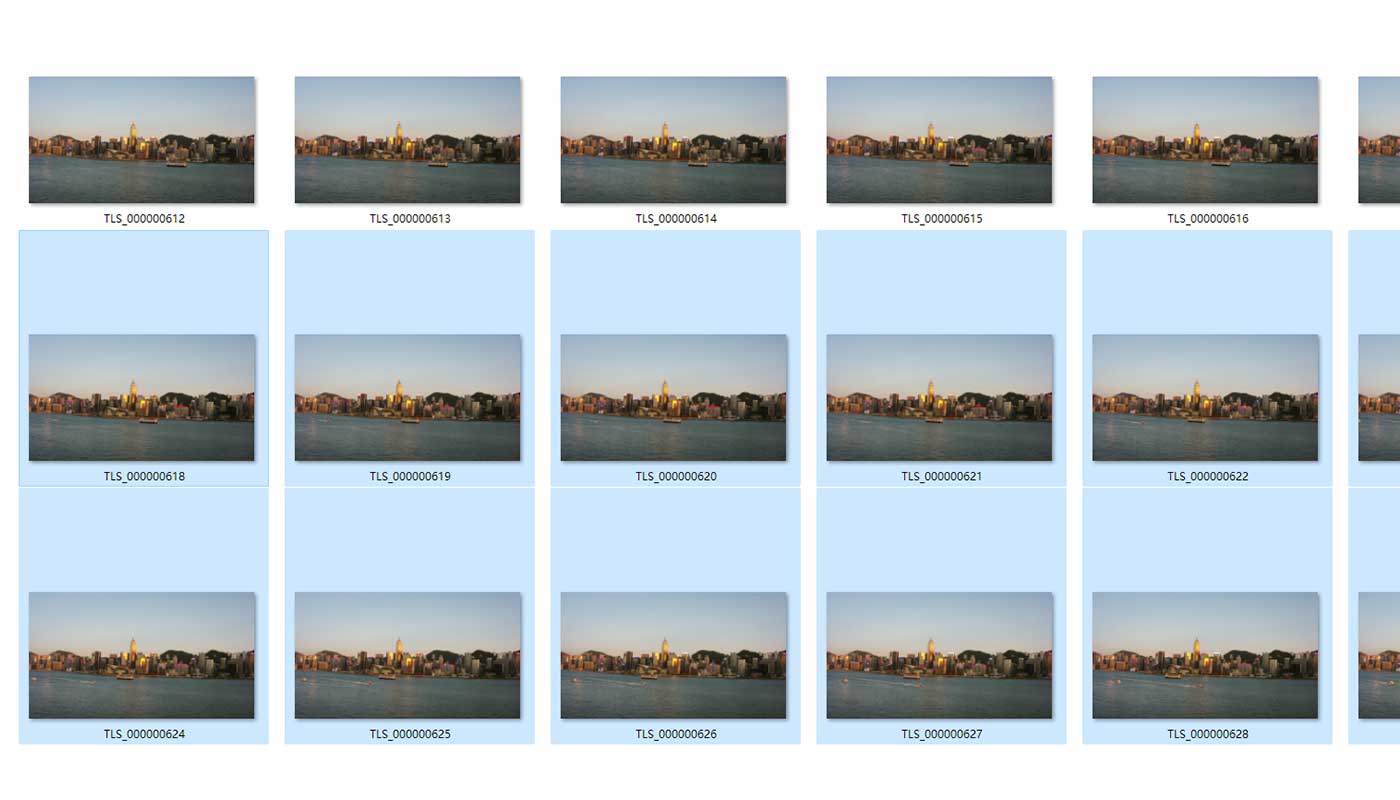
The number of images you have depends on the time you spent capturing photos for the time lapse. Not all images will make it into the time lapse, so you need to pick the ones you want to feature.
Step 2: Edit these photos for consistency
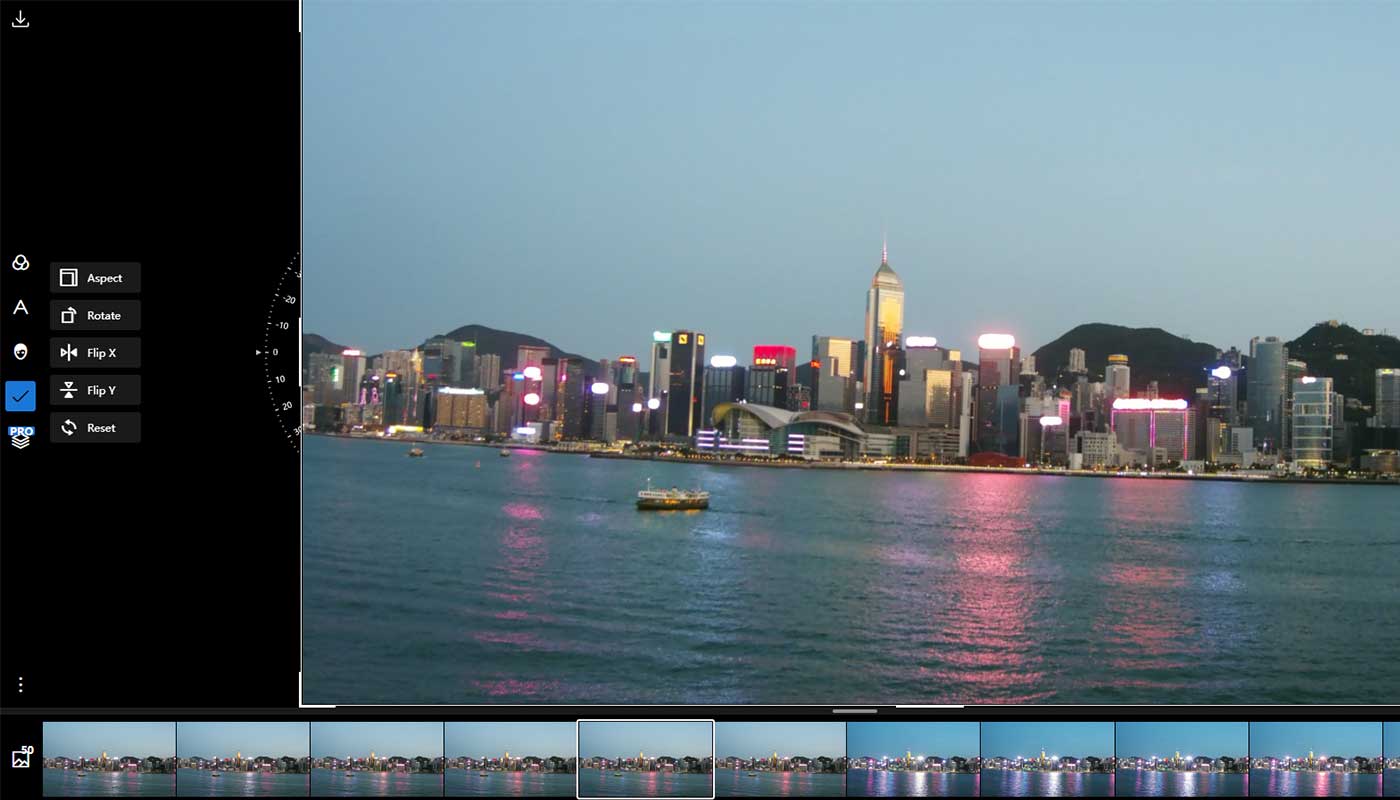
Edit every picture before you create the time lapse video so that you have a consistent visual experience throughout the time lapse. It may be time-consuming to edit every image, but it’s worth the effort!
Step 3: Transfer photos to your PC
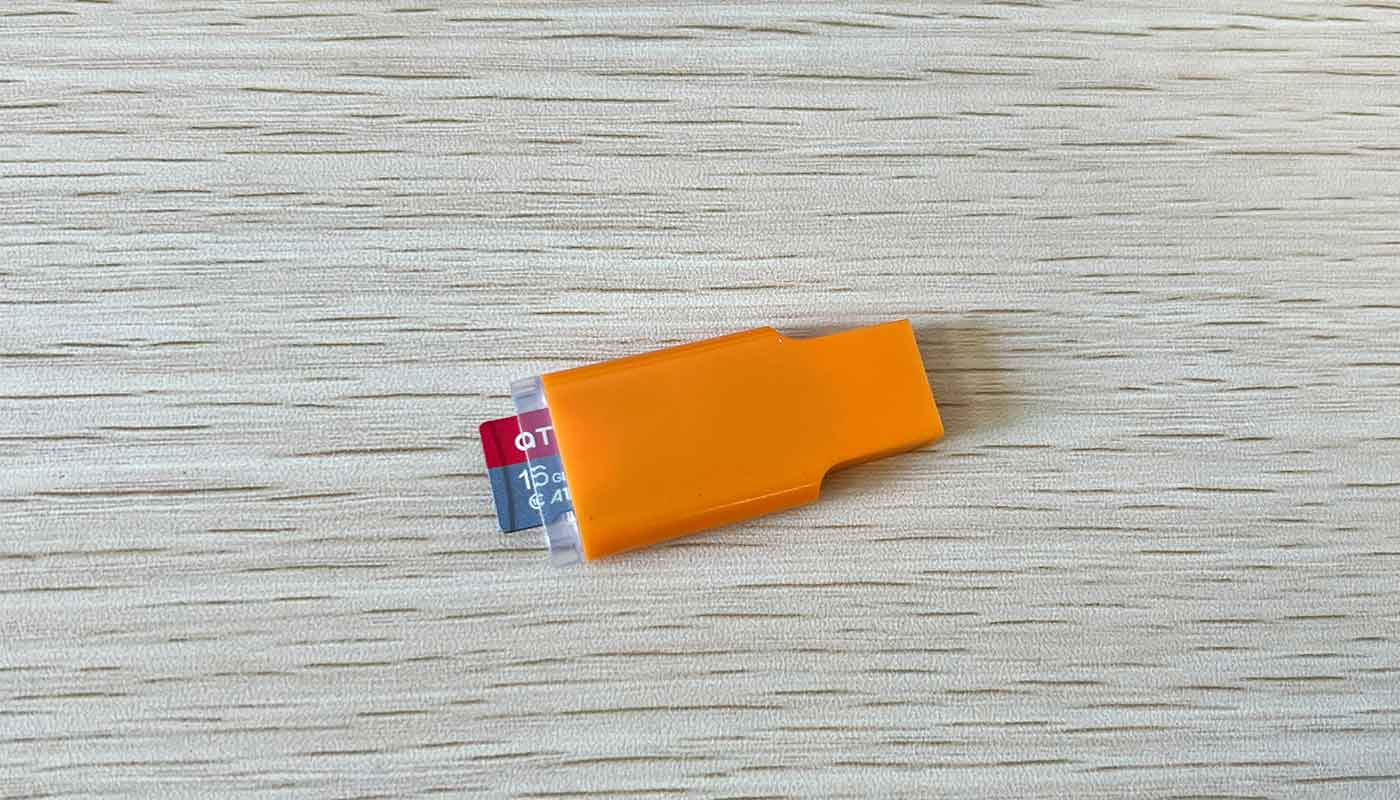
Once your photographs are good to go, you can transfer them to the PC or laptop for post-production. Again, using a USB cable and memory card would help speed up sharing images to the PC.
Step 4: Pick a video editing software
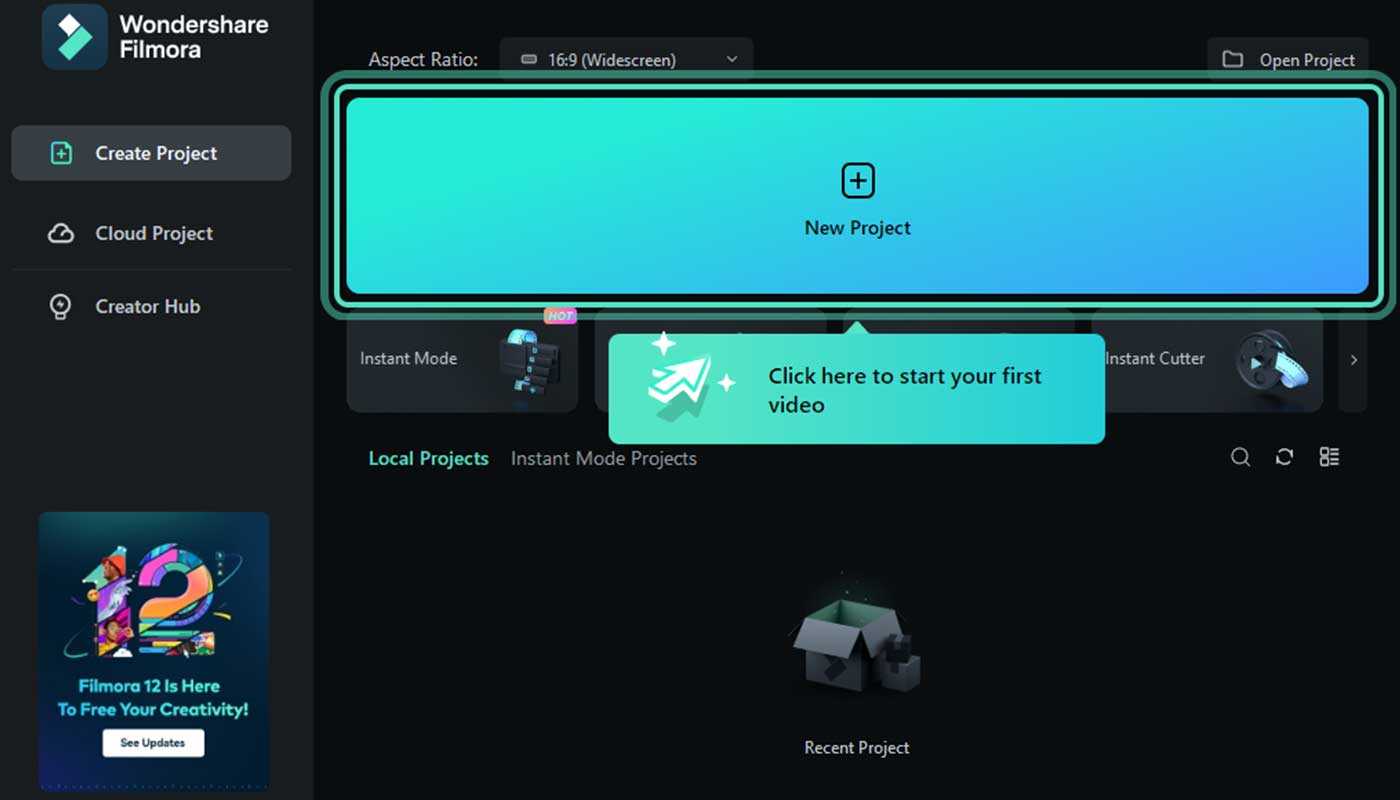
Edit in Filmora
There are many free video editing programs available, so you can pick the one you’re comfortable working with.
Next, import your collection of images into the video editor. Once all the files are imported, you can view them as a single video sequence on your video editor.
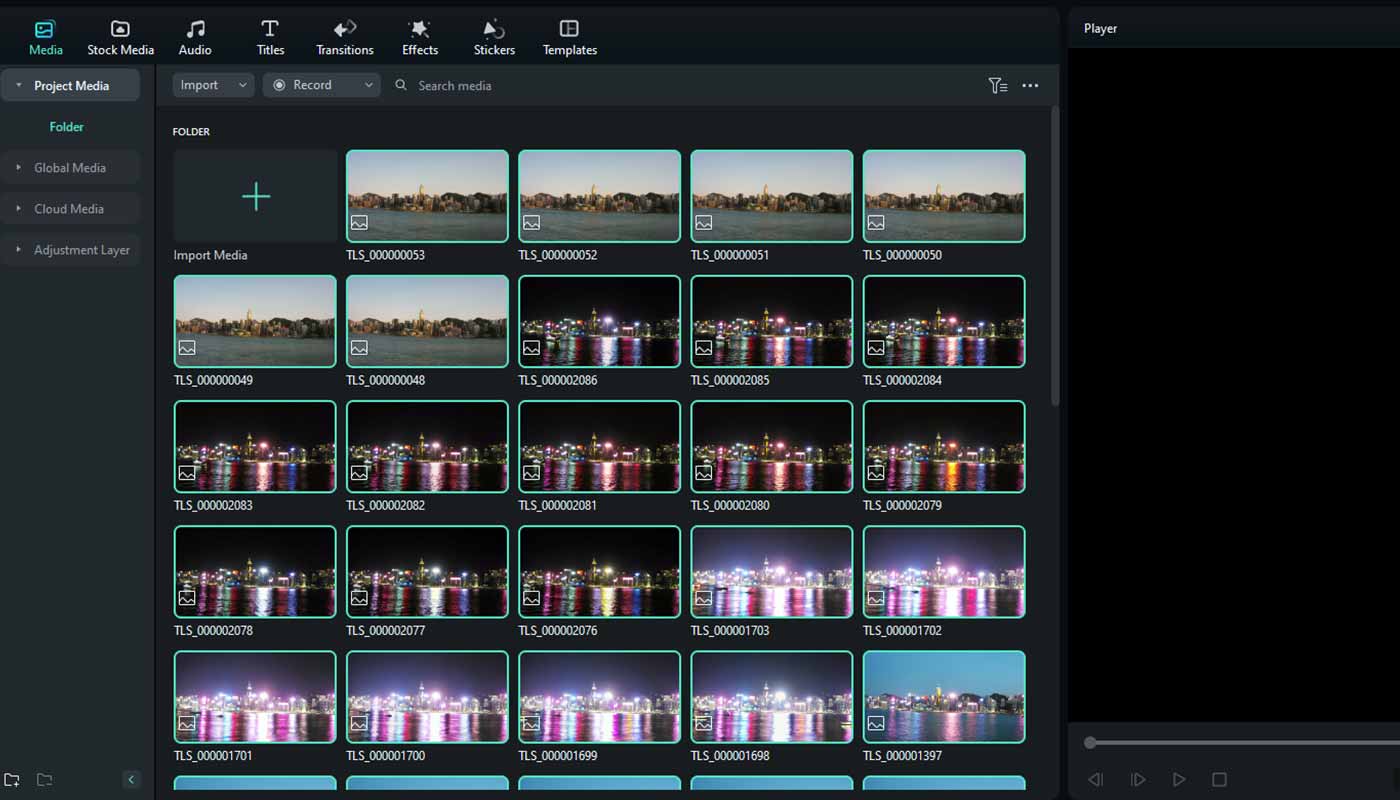
Finally, drag the video sequence into the timeline for further editing and touch-ups.
Step 5: Edit the video
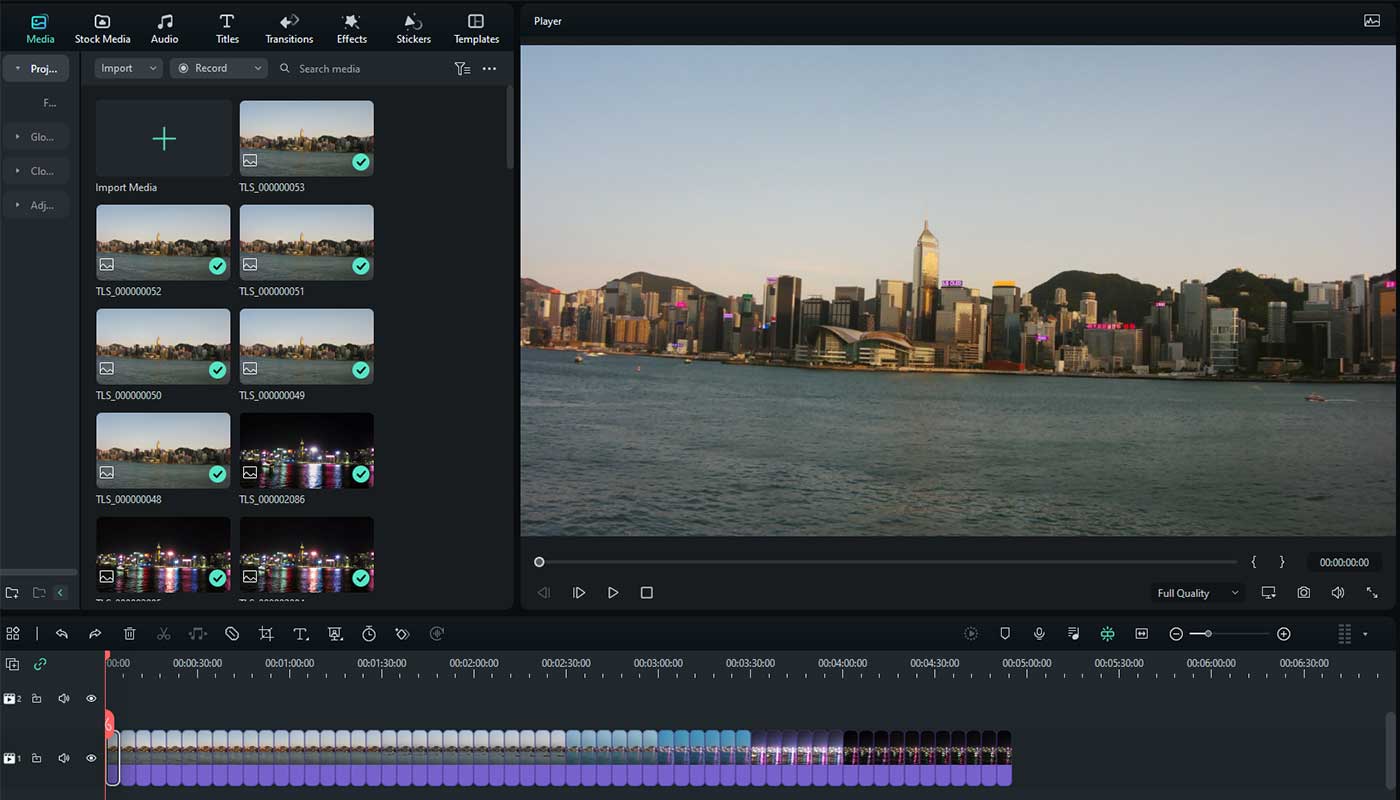
You can speed ramp the video, color grade it, or even add text or soundtrack to enhance your time lapse.
You can also cut, trim, adjust, and crop time lapse videos with the help of tools in video editors. Finally, add in some different effects and filters to enhance the visual appeal of your video.
Do remember to adjust the time lapse speed using the speed slider in the video editor.
Step 6: Export your video
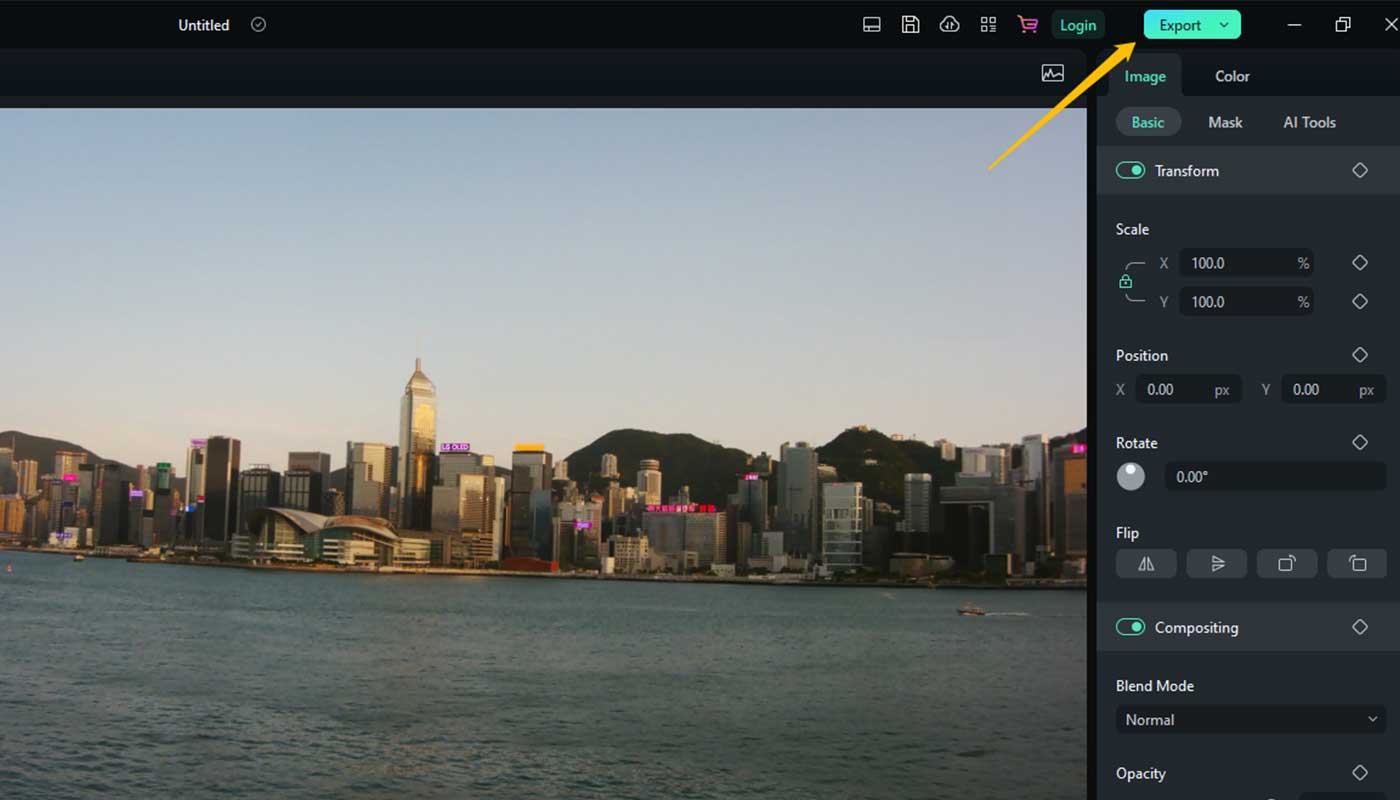
Once you’ve added all the effects and edits to your video, it’s time to export it for the world to see!
You can publish your time lapse video directly to social media platforms or YouTube or immediately save it on your computer.
Step 7: Reduce file size and share your new time lapse
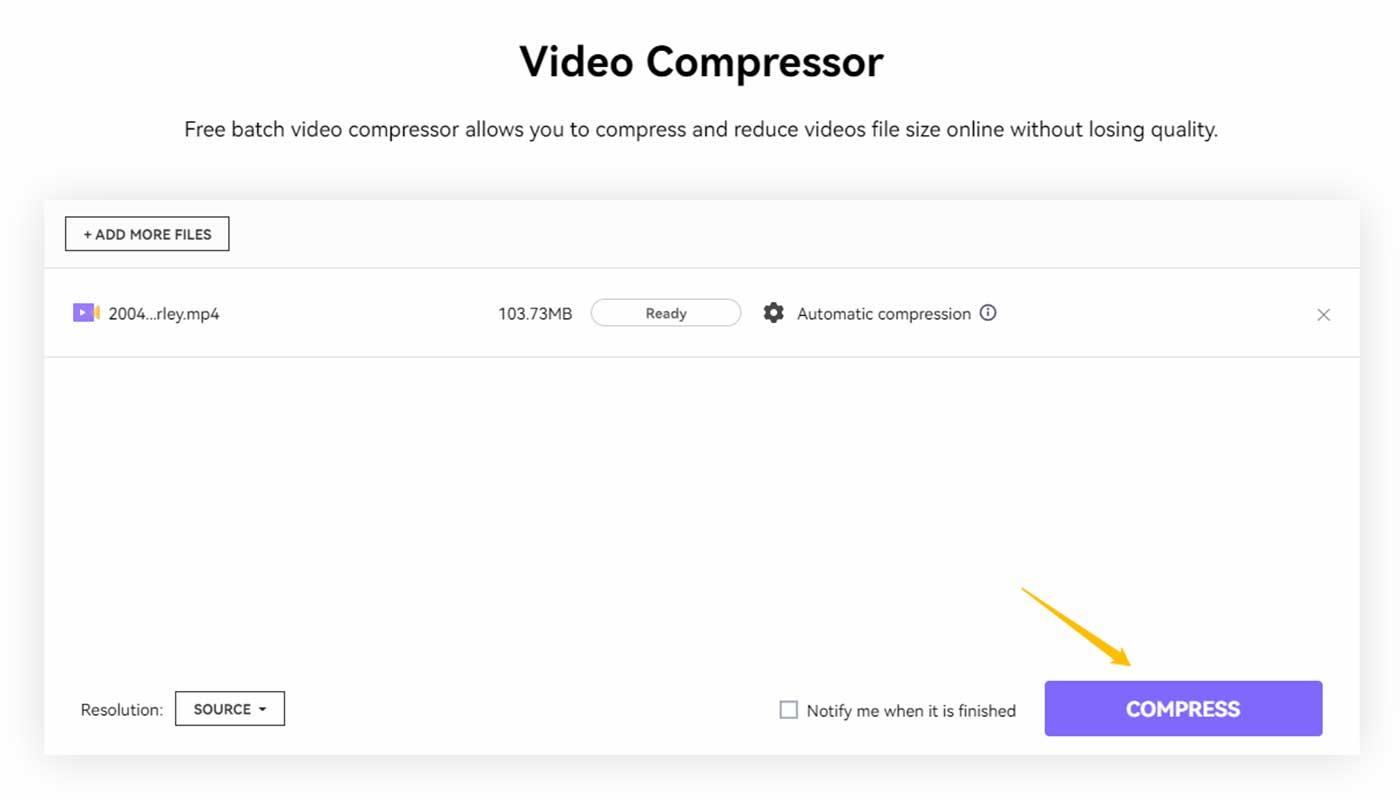
Now you have your time lapse edited in video format and upload your video to social platforms, YouTube or Vimeo, to showcase your work.
If the file size is too large, consider using free software such as Handbrake to resize the file without losing quality.
- For the best results when using Handbrake, upload your video file and don’t change any of the settings.
- Then press ‘Start’, and your video file will transcode to the same or different file format (whatever you have selected).
- Upon completion, you will see the file size significantly reduced, making uploading to YouTube or similar channels significantly faster.


